


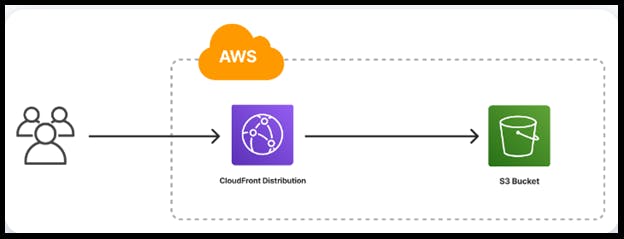
Amazon S3 is a cloud object storage service that can host static websites and make objects available for remote access. Amazon CloudFront is a content delivery network (CDN) that works with Amazon S3 to improve user experience.
☄️Some Difference between Amazon S3 and Amazon CloudFront:
Purpose
S3 is used to store static content, such as videos, images, and PDFs. CloudFront is used to deliver static and dynamic web content, video streams, and APIs securely and at scale.
Location
S3 buckets are where you keep your real files, while CloudFront is closer to the end user. CloudFront copies files from S3 to the outer "edge" of Amazon's servers, allowing for fast retrieval.
Cost
Delivering data out of CloudFront can be more cost effective than delivering it from S3 directly to your users.
Speed
CloudFront can retrieve files in about half the time of S3.
Security
CloudFront integrates with AWS Shield to provide protection against DDoS attacks, and it supports SSL/TLS encryption to secure your content in transit.
☄️Now Let's move to a Task to Configuring a Static Website with S3 And CloudFront
Go to the AWS Management Console and sign in.
Make sure you are in the region where you want to create your S3 bucket. for this project I Choose Ohio-(us-east-2)
Navigate to the S3 service in the AWS Management Console.
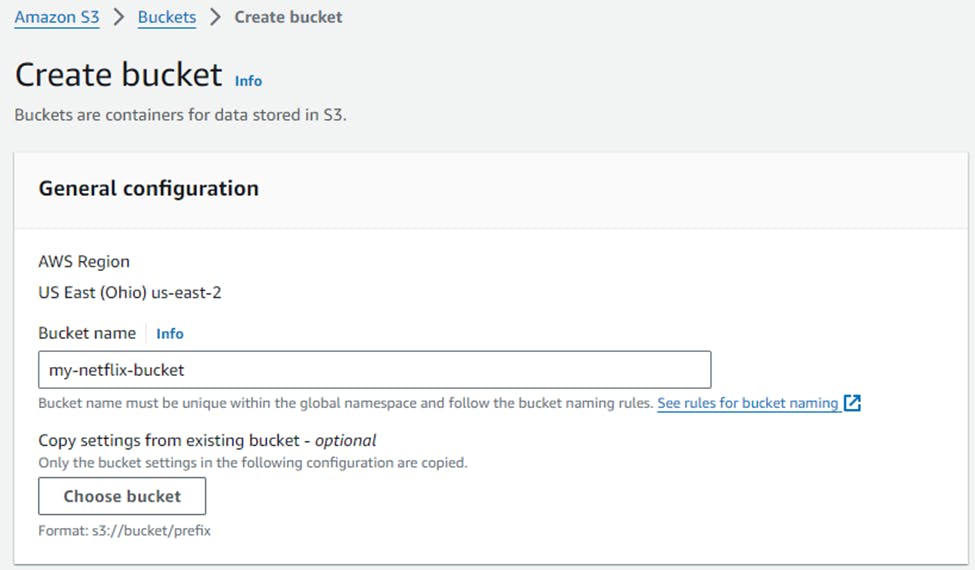
Click on Create bucket.
Give a Unique Name for your bucket and select the AWS Region where you want to create the bucket.
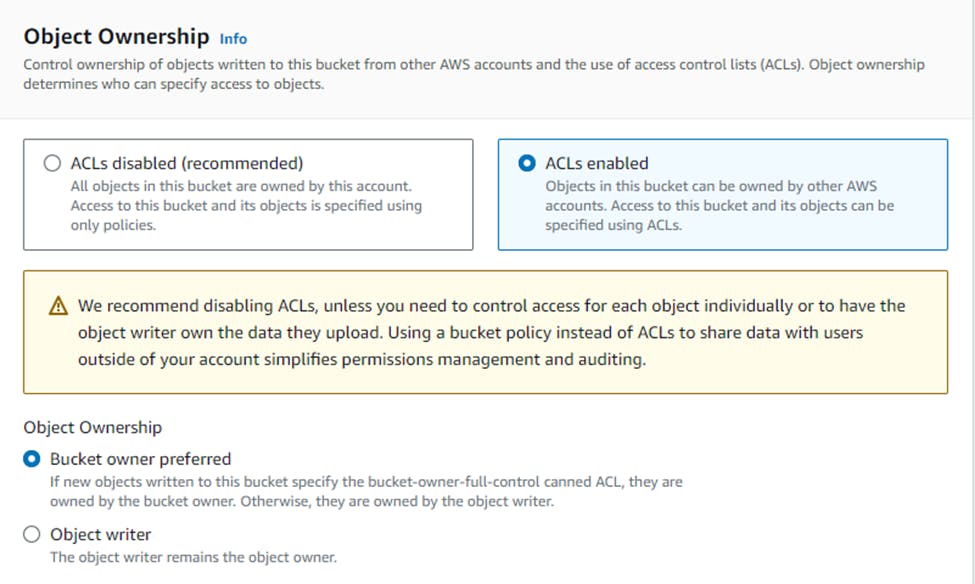
Select ACL's enabled
Now you’ll see the Block all public access settings. By default, all options under this setting are checked to prevent public access.
Uncheck the Block all public access option. This action will automatically uncheck all related options beneath it.
A warning message will appear, emphasizing the risks associated with making your bucket publicly accessible. Below this message, you’ll find an acknowledgment checkbox.
Check the acknowledgment box to confirm that you understand the consequences of enabling public access to your bucket.
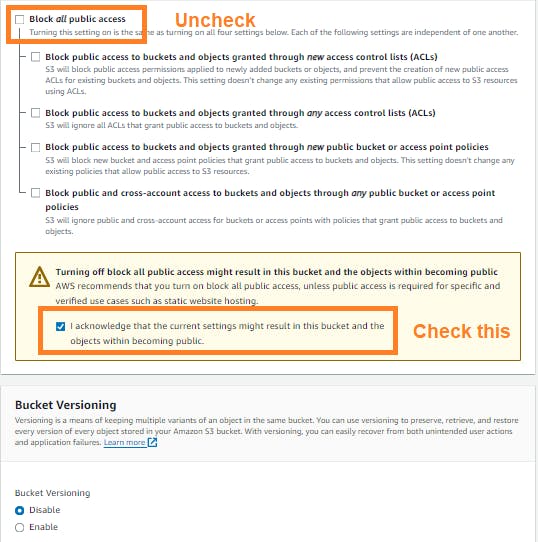
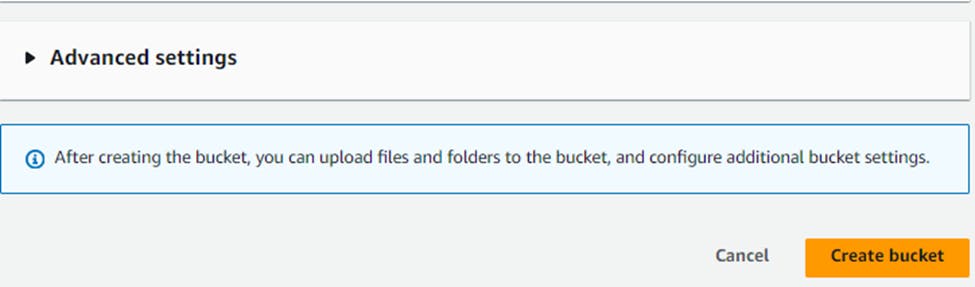
Then, create the bucket.
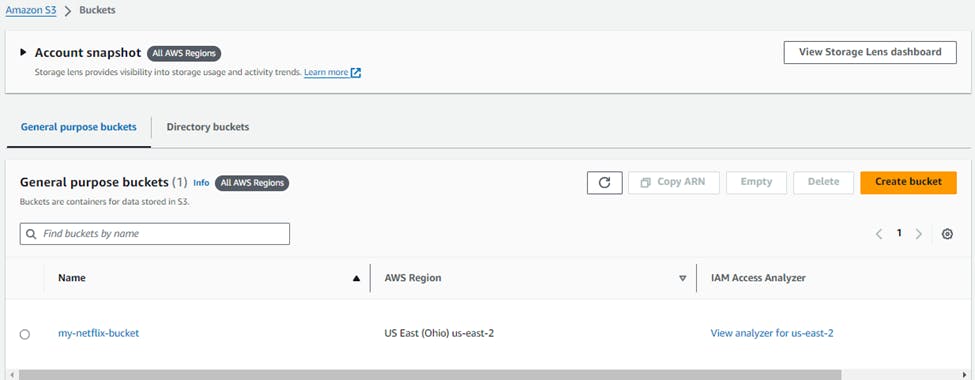
Then, Click on the bucket
Go to Permission -> Click on Edit bucket policy.
  #This policy will allow public access to all objects in your S3 bucket.
  {
    "Version": "2012-10-17",
    "Statement": [
      {
        "Sid": "AddPerm",
        "Effect": "Allow",
        "Principal": "*",
        "Action": "s3:GetObject",
        "Resource": "arn:aws:s3:::YOUR_BUCKET_NAME/*"
      }
    ]
  }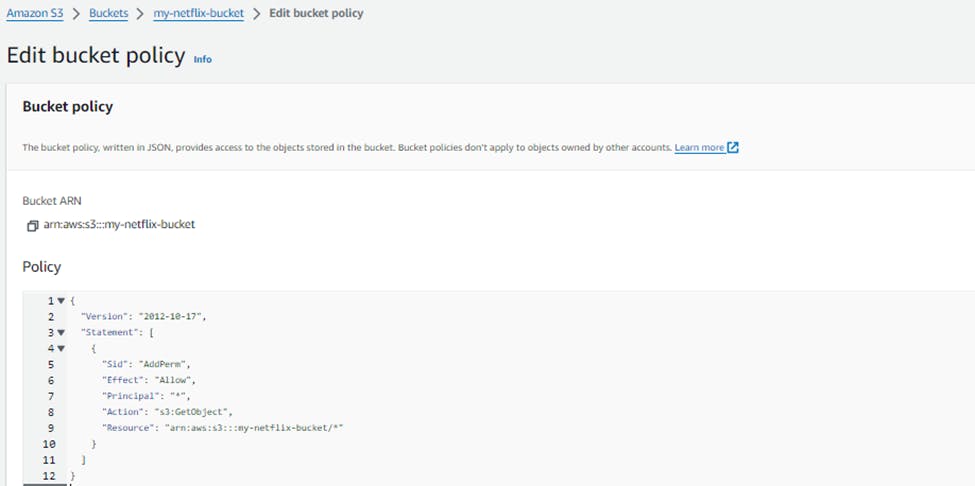
Save this policy.
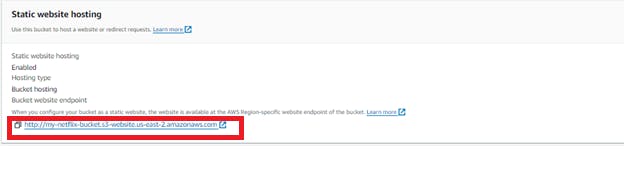
Then go the Properties Section till last, enable the static website hosting.
In Index Document, give name as a index.html & error.html name & save it.
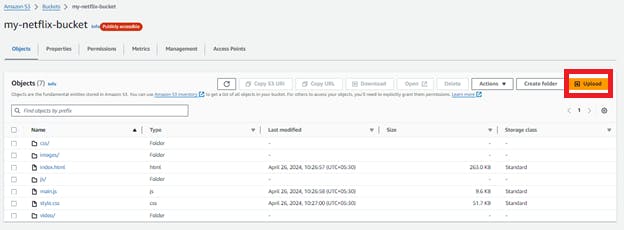
Then go to Object tab and Click Upload to upload your static website files (HTML, CSS, JavaScript, images, etc.).
https://github.com/mandgepratik/Netflix-website.git
Note: It will take 4-5 minutes to upload the files.
- Go again in Properties Section, till last in static website you’ll get
http://my-netflix-bucket.s3-website.us-east-2.amazonaws.com
This URL is the public address of your static website.
Paste the endpoint into the address bar of a new browser tab.
You will see a website load that looks like this: Not Secure
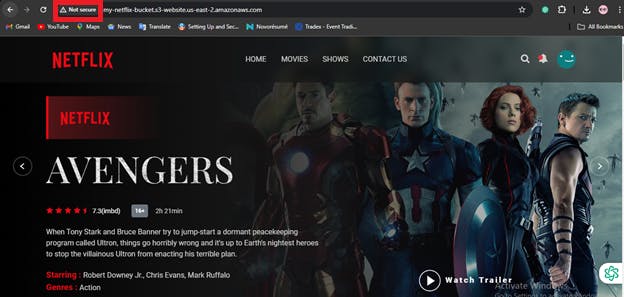
So, For securing the website,
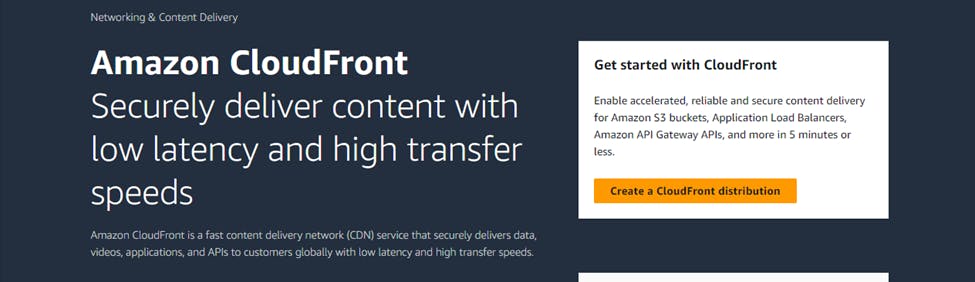
- Go to AWS Management Console, Enter CloudFront Service & click Create a CloudFront Distribution
Select the S3 Bucket that you already created,
Select origin access control setting
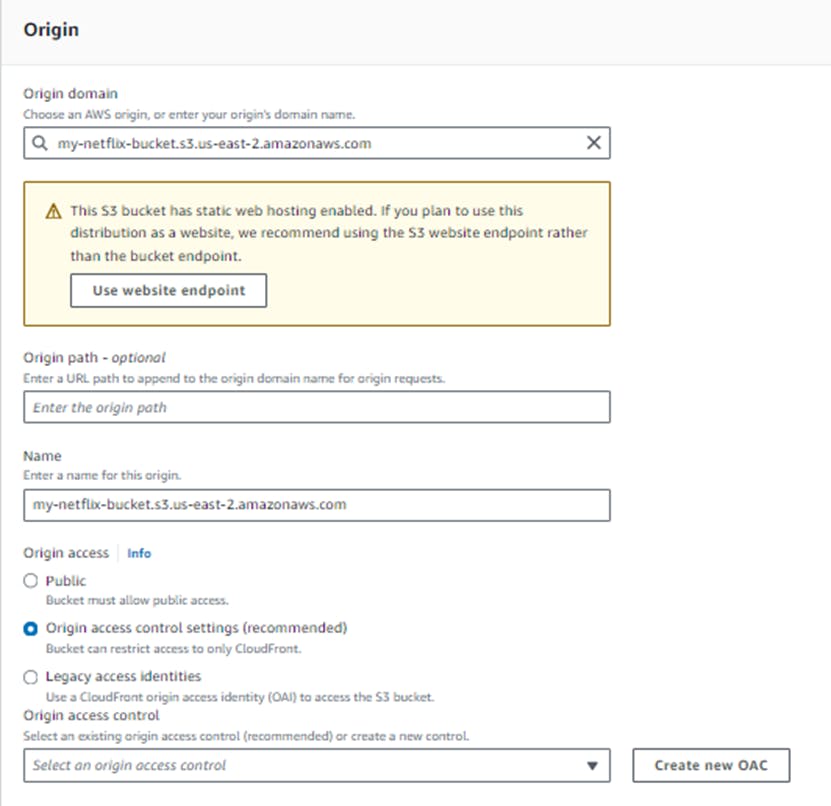
You’ll get Create new OAC
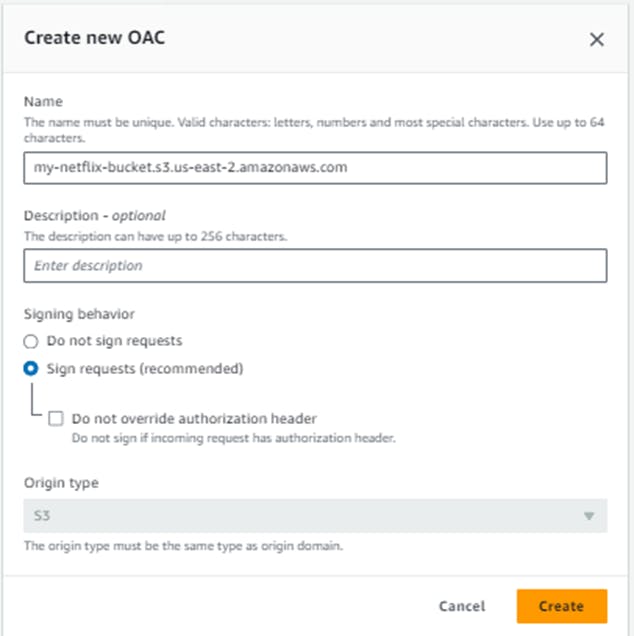
Note: Origin access control secures S3 origins by allowing access to only designated distributions. This follows AWS best practice of using IAM service principals to authenticate with S3 origins.
Create it.
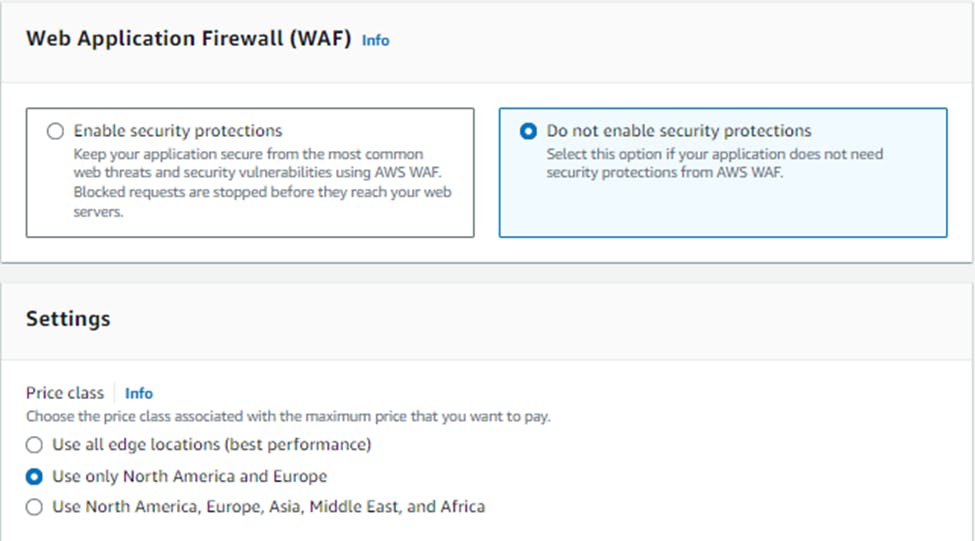
Now, Select option Do not enable security protections.
Use only north America & Europe.
In the Default root object field, enter index.html.
To finish configuring your distribution, at the bottom of the page, click Create distribution.

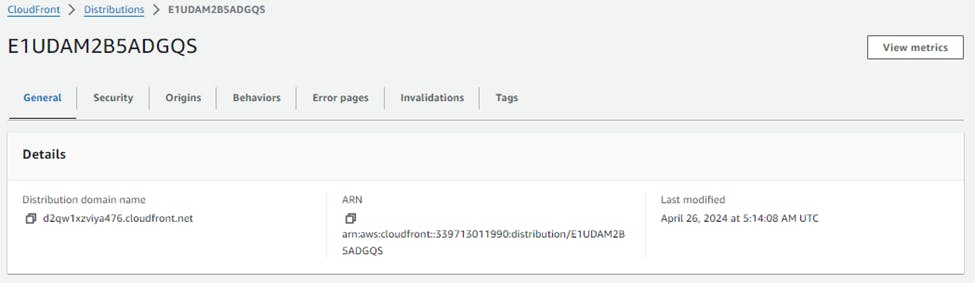
You will be brought to the distribution details page.
Click Copy policy at the top of the page -> copy this policy
Then again go to S3 bucket,
Go to the Permission -> till last, Edit the old bucket policy again.
{
    "Version": "2008-10-17",
    "Id": "PolicyForCloudFrontPrivateContent",
    "Statement": [
        {
            "Sid": "AllowCloudFrontServicePrincipal",
            "Effect": "Allow",
            "Principal": {
                "Service": "cloudfront.amazonaws.com"
            },
            "Action": "s3:GetObject",
            "Resource": "arn:aws:s3:::my-netflix-bucket/*",
            "Condition": {
                "StringEquals": {
                    "AWS:SourceArn": "arn:aws:cloudfront::339713011990:distribution/E1UDAM2B5ADGQS"
                }
            }
        }
    ]
}
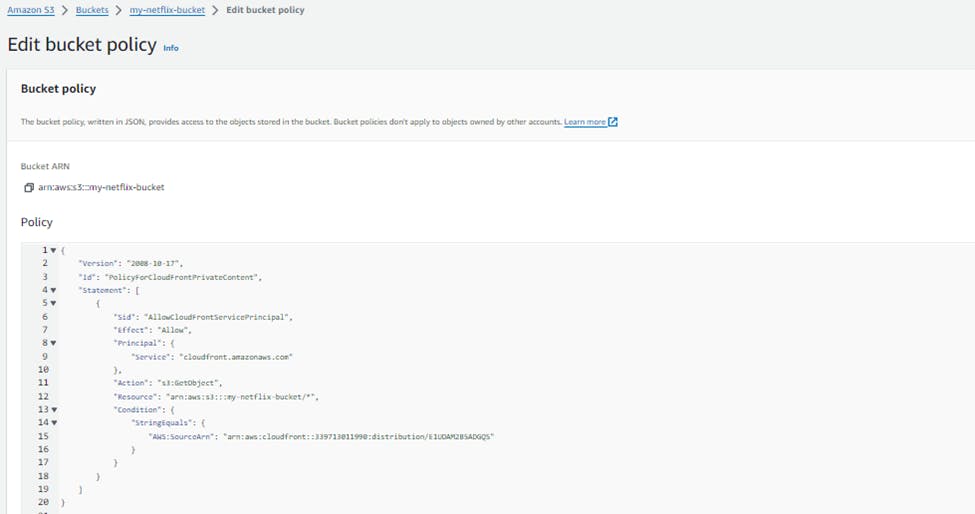
Update the Copied Policy from CloudFront & click on Save Changes
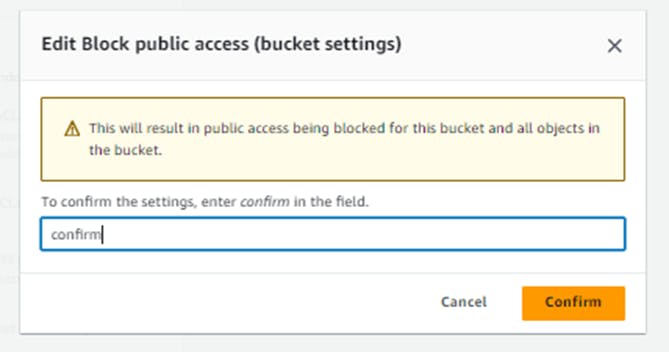
Now, Under the Block public access (bucket settings) section click Edit
Select the Block all public access box, click Save changes,
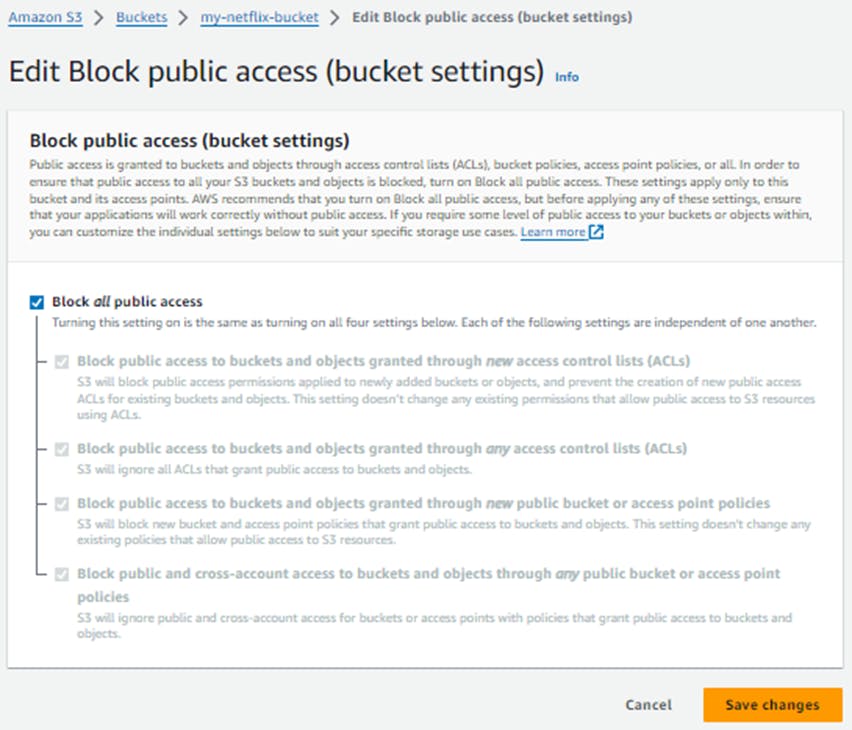
Enter confirm into the field, and click Confirm
Return to the CloudFront Distributions Tab:
Enter into Cloudfront Distributions to copy the Domain name
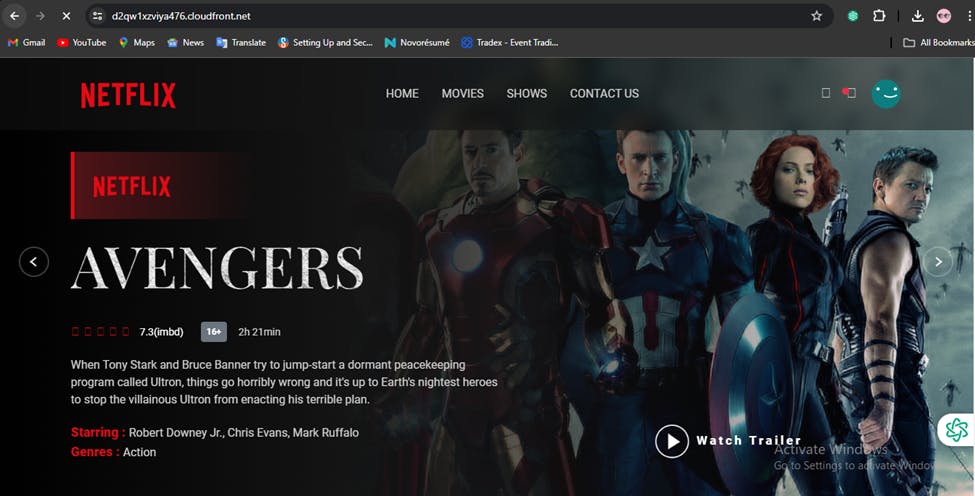
Paste the domain name into the address bar of a new browser tab.
Now You can check on the Top your website is Secured Now
I think this blog will be quite valuable, offering unique viewpoints and introducing new and engaging ideas. 🙏
😊 Happy learning!
📌Copyright © Pratik R. Mandge, 2024. All rights reserved.
This article and its content are protected by copyright law. Reproduction or distribution of this article without the author's permission is prohibited. For inquiries, please contact pratikmandge021@gmail.com