#Day26 was all about a Declarative pipeline, now its time to level up things, let's integrate Docker and your Jenkins declarative pipeline.
🎆Let's Docker Build and Run Knowledge
docker build - Building Docker Images.
In the context of our pipeline, it's like creating a blueprint for your application and packaging it into a standalone image.
stages {
    stage('Build') {
        steps {
            sh 'docker build -t mandgepratik/django-app:latest .'
        }
    }
}
docker run - Run Docker Container.
In our pipeline, it's like deploying your application in an isolated environment.
stages {
    stage('Run') {
        steps {
            sh 'docker run -d mandgepratik/django-app:latest'
        }
    }
}
Now Let's tackle our tasks,
🕹Task 1: Create a Docker-Integrated Jenkins Declarative Pipeline.

🔹For Jenkins Installation You need to Install Java.
sudo apt update    #update system
sudo apt install fontconfig openjdk-17-jre   #Java Installation
🔹Then, Install Jenkins, Docker & Docker-compose.
# Full Installation of Jenkins

sudo wget -O /usr/share/keyrings/jenkins-keyring.asc \
  https://pkg.jenkins.io/debian-stable/jenkins.io-2023.key
echo deb [signed-by=/usr/share/keyrings/jenkins-keyring.asc] \
  https://pkg.jenkins.io/debian-stable binary/ | sudo tee \
  /etc/apt/sources.list.d/jenkins.list > /dev/null
sudo apt-get update
sudo apt-get install jenkins

-----------------------------------------------------------

# Full Installation Of Docker & Docker-Compose

sudo apt-get install docker.io docker-compose -y
🔹Enable Jenkins & Docker
sudo systemctl enable jenkins
sudo systemctl enable docker
🔹Then, Add Users in docker group
sudo usermod -aG docker $USER   #ubuntu user
sudo usermod -aG docker jenkins #Jenkins user
cat /etc/group                  # check both user add or not
🔹Go to security group, open port 8080 for Jenkins & 8000 for Docker.

🔹Then Access Jenkins Portal using your EC2 public-ip:8080
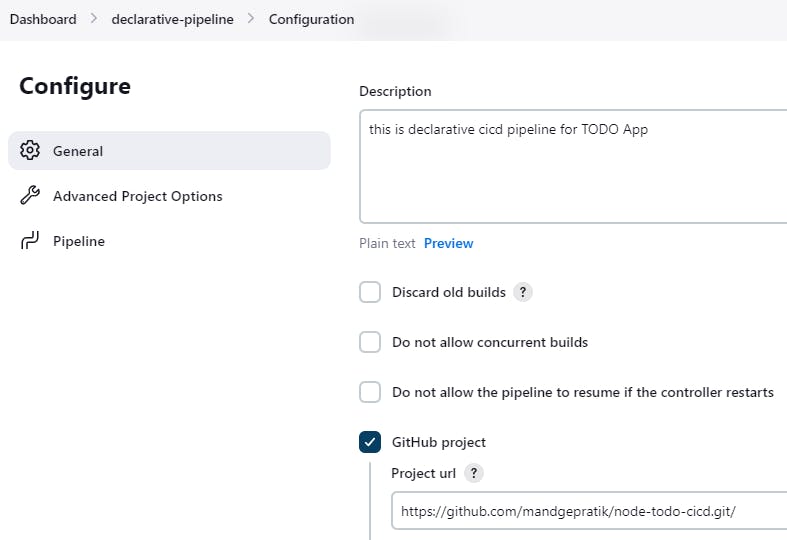
🔹Now, creating new pipeline job. Go to New Item->Give name of Project->select Pipeline->Click OK.
🔹Go to pipeline, Configure you pipeline.

🔹Go to last, select Pipeline script-> write this script-> Save it.
pipeline {
    agent any

    stages {
        stage("code") {
            steps {
                git url: "https://github.com/mandgepratik/node-todo-cicd.git", branch: "master"
                echo "code cloned successfully"
            }
        }

        stage("build") {
            steps {
                sh 'docker build . -t todo-app'
                echo "code build successfully"
            }
        }

        stage("deploy") {
            steps {
                sh "docker run -p 8000:8000 -d todo-app"
                echo "Node-app deployed successfully"
            }
        }
    }
}
🔹On the Left, Click on Build Now.
🔹On First Click your Pipeline runs successfully.

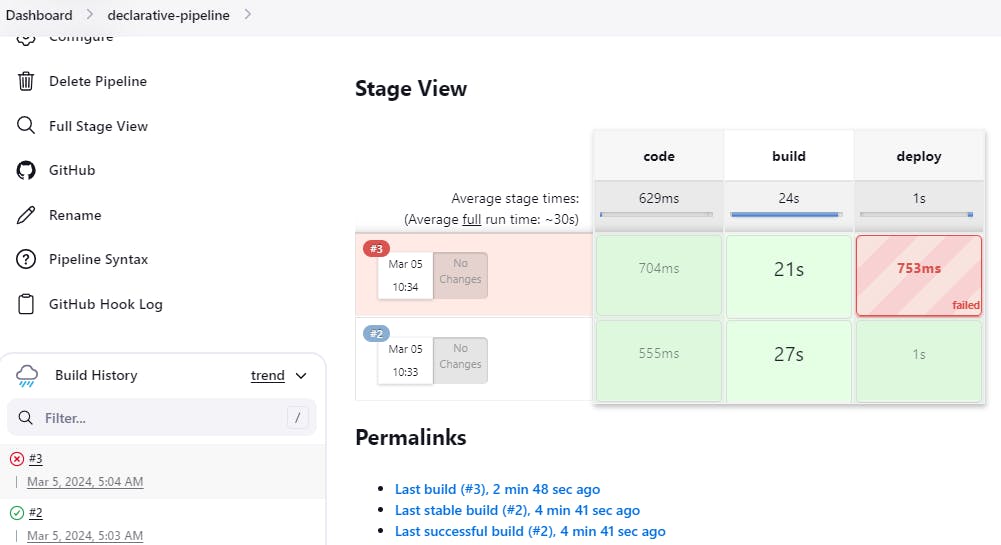
🔹You will face errors(port no. 8000 is already allocated) in case of running a job twice, as the docker container will be already created, so for that do task 2.
So, remove/ delete your 1st image using command sudo docker rmi <img-id> --force
🕹Task 2: Enhance Pipeline with Docker Groovy Syntax
- Create a docker-integrated Jenkins declarative pipeline using the
dockergroovy syntax inside the stage block.
🔹Now you just go back to the configuration of your pipeline job.
🔹Modify the Pipeline Script.
pipeline {
    agent any

    stages {
        stage("code") {
            steps {
                git url: "https://github.com/mandgepratik/node-todo-cicd.git", branch: "master"
                echo "code cloned successfully"
            }
        }

         stage("build and test"){
            steps{
                sh "docker build -t node-app-test-new ."
                echo 'Code Build Successfully'
            }
        }

        stage("deploy") {
            steps {
                sh "docker-compose down && docker-compose up -d"
                echo "Node-app deployed successfully"
            }
        }
    }
}
🔹Remove port no. 8000 from Security groups.
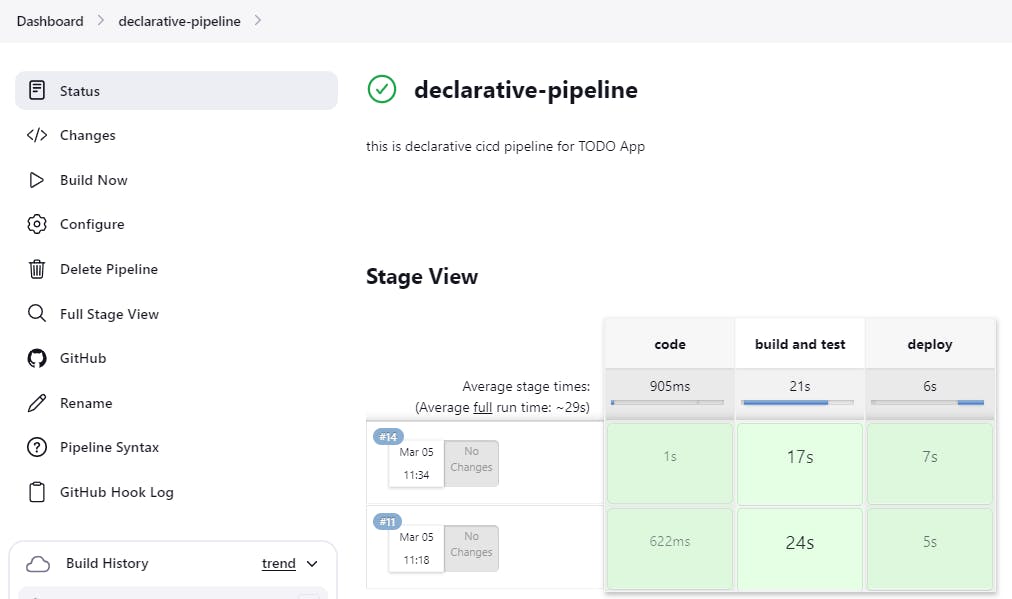
🔹Save & Run once again.
🔹Congratulations, your pipeline is running successfully.🎊

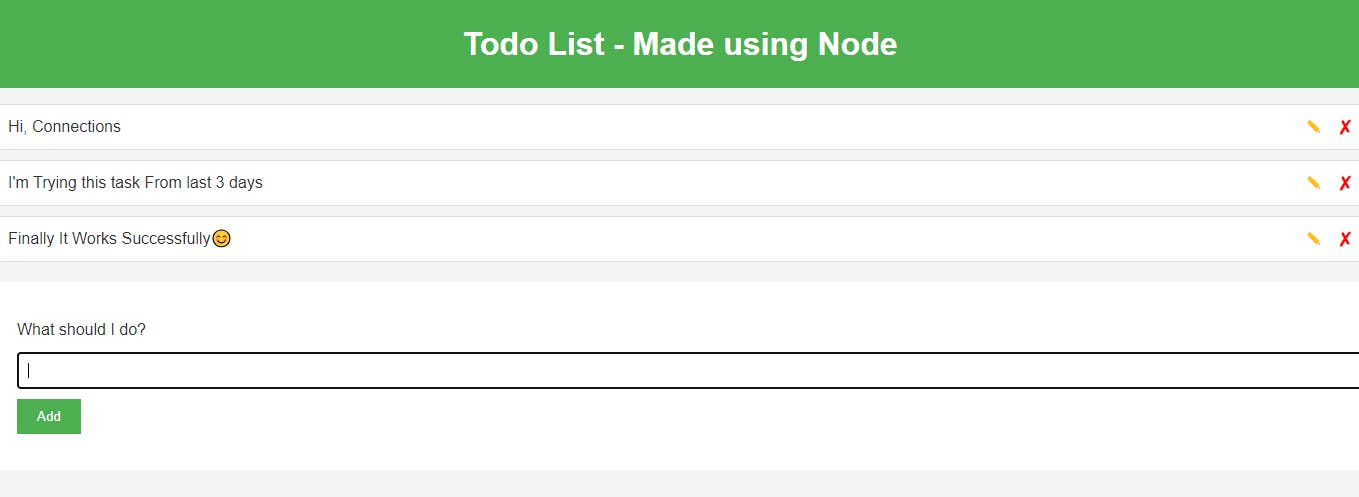
🔹Then check your application, use your EC2 public-ip:8000

🔹You can check on your terminal, You'll get latest image of your repository.

🌌Conclusion
In conclusion, using a declarative CI/CD pipeline with Docker commands in Groovy syntax offers a streamlined and efficient way to automate your build, test, and deployment processes. By defining your pipeline stages and steps within a Jenkinsfile, you can easily manage and version control your CI/CD workflow.
I believe this blog will be really helpful, giving you fresh perspectives and teaching you something new and interesting. 🙏
😊 Enjoy learning!